I’m still a noob, and I’ve got a long ways to go, but I think documenting my journey will be worth it. I inherited my first DSLR from my dad last Christmas. It’s a Canon EOS 40D, which is a pretty old camera, but probably amazing for its time. Even if its resolution isn’t that great (10.1 MP vs 48 MP of modern iPhones), the photo quality is amazing. I can never look at phone photos the same ever again; it just misses that character that actual cameras have.
I’ve been using it for a month now, and I’ve learned a lot about photography. I’m also documenting my journey through this Instagram account, but I also wanted to document it on this blog. Here are some of the things I’ve learned.
Manual handheld photography is a game of balance
A camera captures light. The three main settings that control how much light is captured are aperture, shutter speed, and ISO. The goal is to balance these three settings to get the right exposure. Of course, what the “right exposure” is up to you, but I generally prefer my photos slightly underexposed as I think it gives it more color and a more dramatic vibe. Through experience you learn how to balance these settings to get the right exposure (or you could set everything to auto).
I kind of knew the physics of light in a camera before I got the DSLR, as I knew that:
ISO: basically how sensitive the sensor is to light. You want this as low as possible because while increasing it makes your image look brighter, it also introduces noise.
Shutter speed: how long the sensor is exposed to light. The longer it is, the more light there is, but the greater chance there is for motion blur (which could be something you want). This is pretty intuitive.
Aperature: how wide the lens is open. The wider it is, the more light there is, but the shallower the depth of field is (again, which could be something you want). A “shallow depth of field” enables the nice bokeh effect you often see in portrait photography.
I knew what these were and how they worked together in theory, but in practice, there’s no equation that directly tells you which settings to use. I started off eliminating ISO as a variable by setting it to the lowest possible value on my camera (100) and then balancing the other two settings. However, I’ve recently learned that keeping it super low may be limiting your capabilities as a photographer, especially as a beginner; it’s pretty difficult to hold still and get a clear picture at low exposure. Besides, modern cameras have ISOs that can go up to 102400 or even higher, so it makes me think that keeping my ISO to 100 all the time is not the best idea.
My dad told me about the camera’s light meter which tells you if your photo is underexposed, overexposed, or just right. I later find that this can be quite useless for some situations, such as when I’m trying to shoot directly at the sun. But for the most part,I used this to help me balance the settings. I usually kept it on the underexposed side as I have some friends who also owned cameras and I liked their low-exposure style, which I tried to replicate on my first day.
Portrait shots
I intuitively knew that shooting in daylight would be the easiest, but now I know it’s because that way I can have a high shutter speed and low ISO without compromising much. I first started off just using the 50mm lens that was already installed when I inherited the camera from my dad. I mainly used it to take shots of my brother and dog. I was surprised at how good the photos turned out, even though I had no idea what I was doing. I didn’t really experiment with aperature because I was already focused on portrait shots, using my brother as a model.
Macro shots
The default 50mm f1.8 lens that was pre-installed on the camera is actually pretty good for macro shots. I was able to get some pretty good shots of some flowers at my school during golden hour, and clovers at a park near my home.
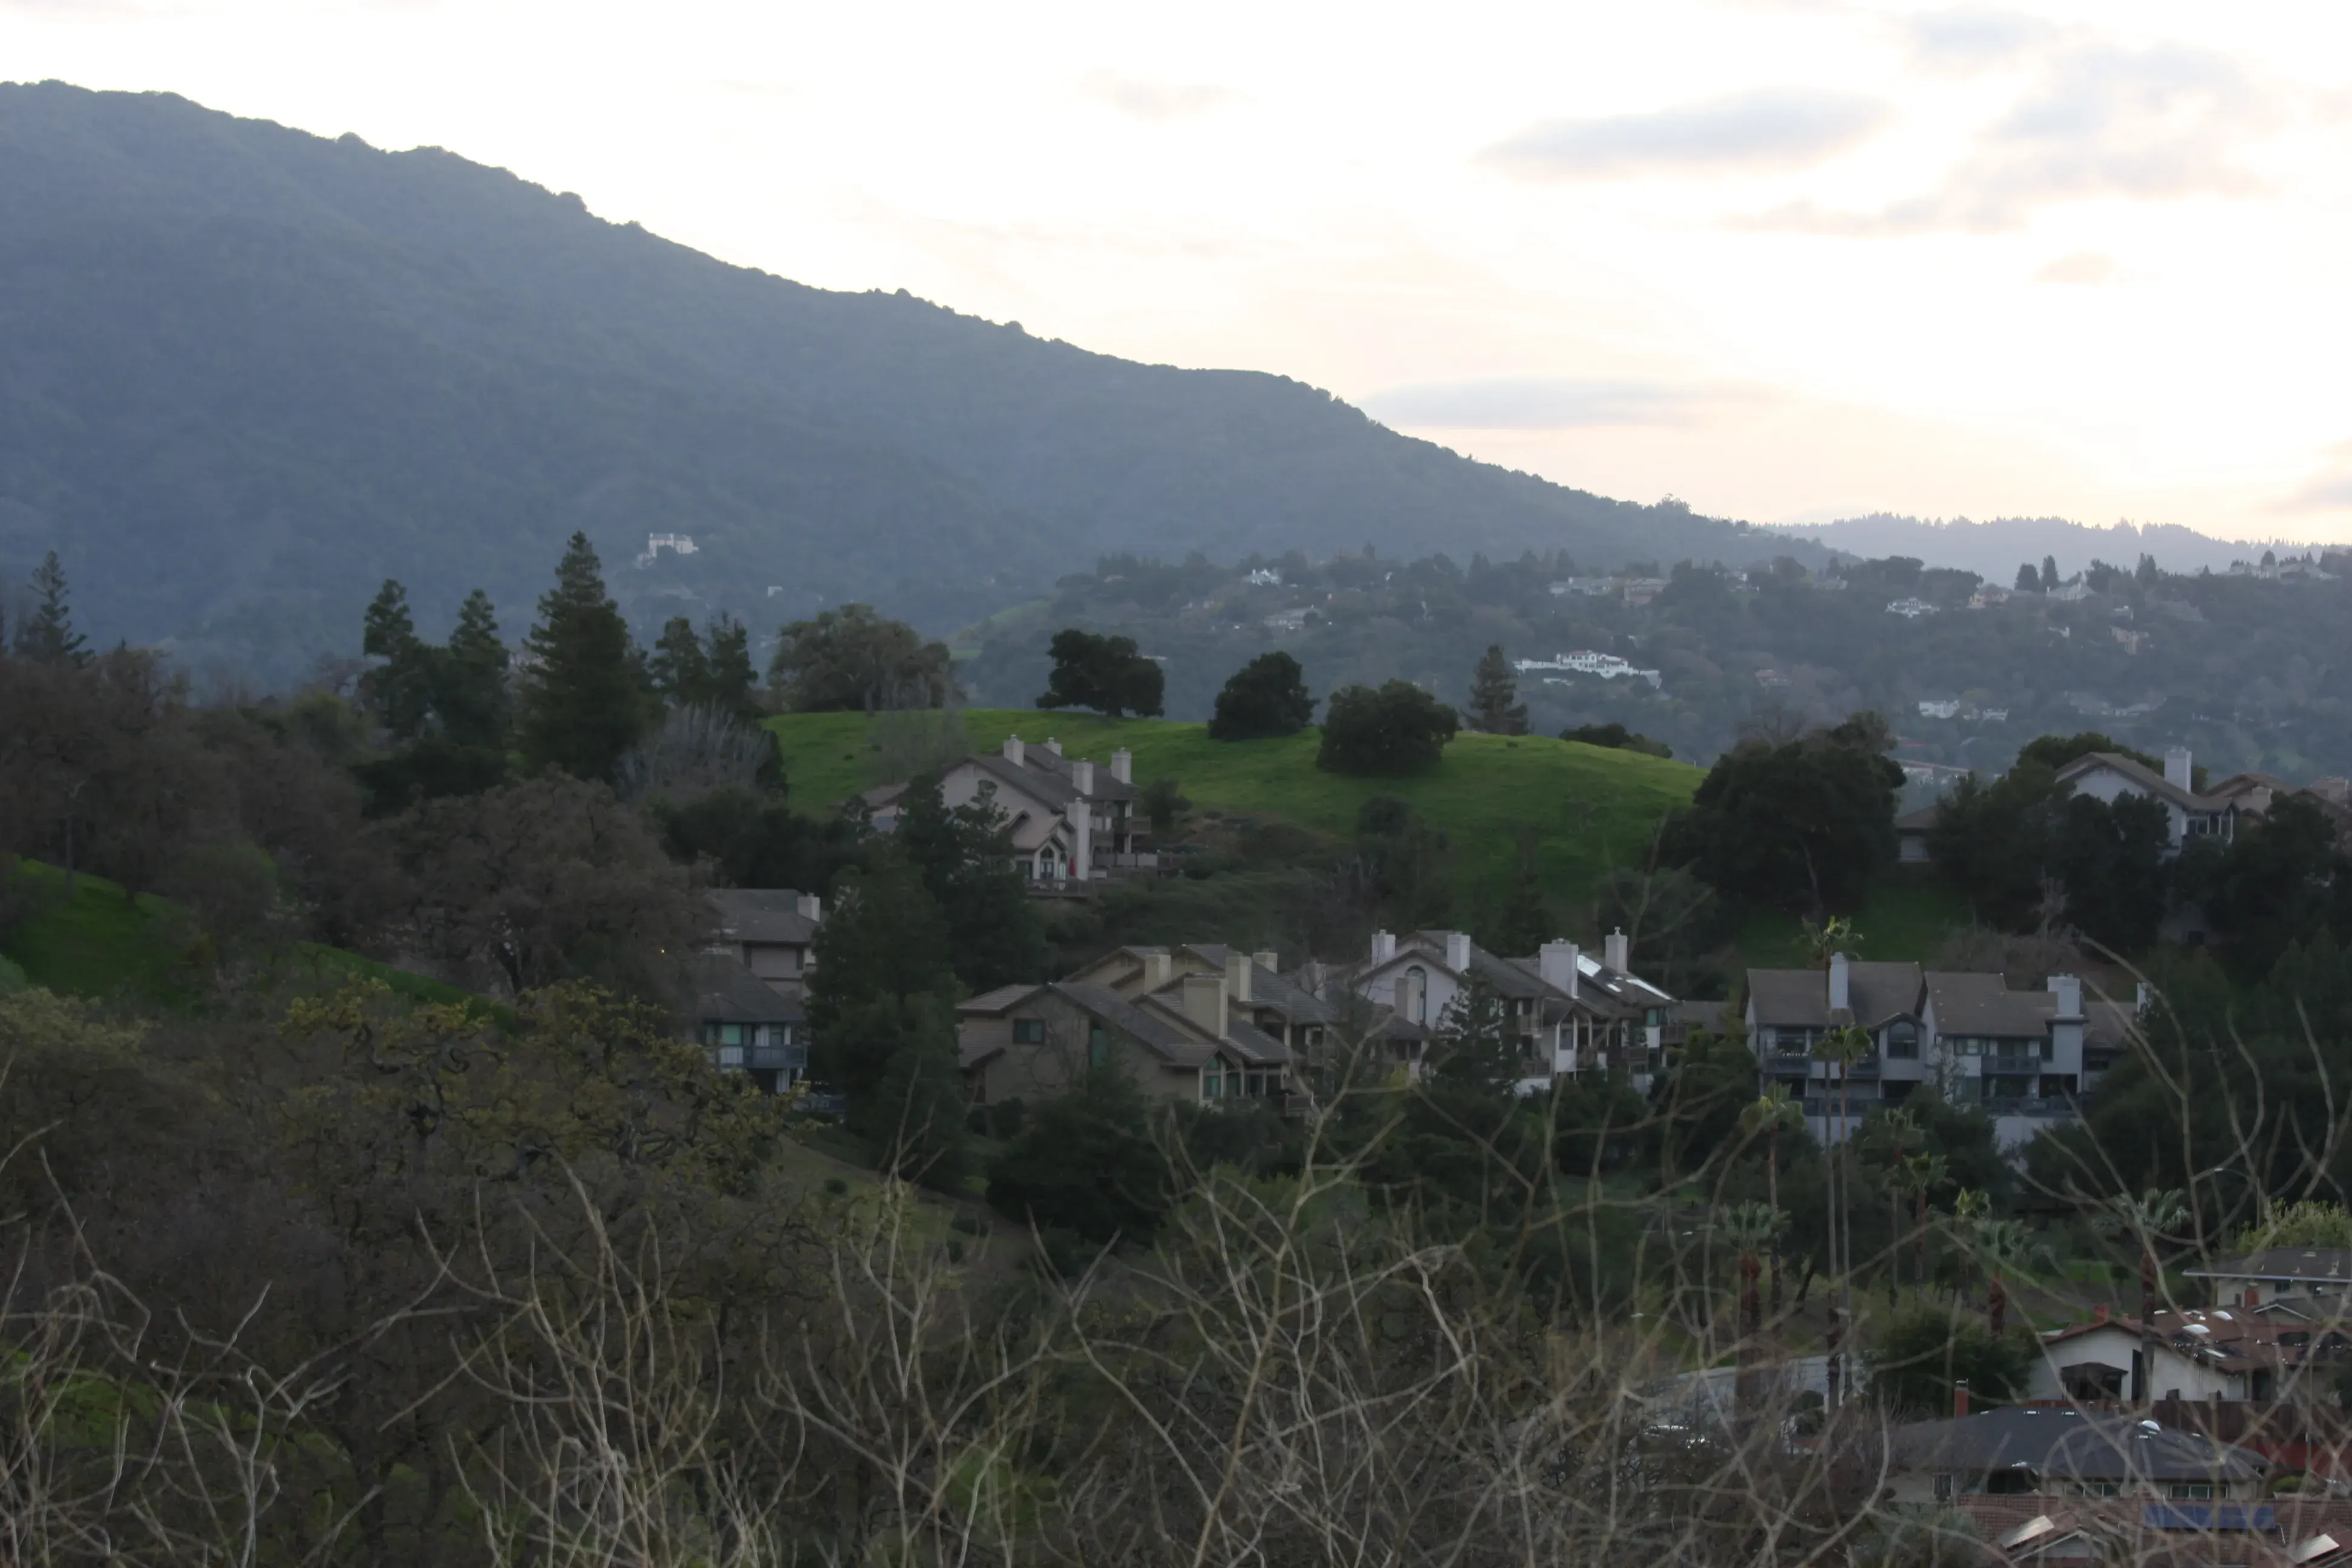
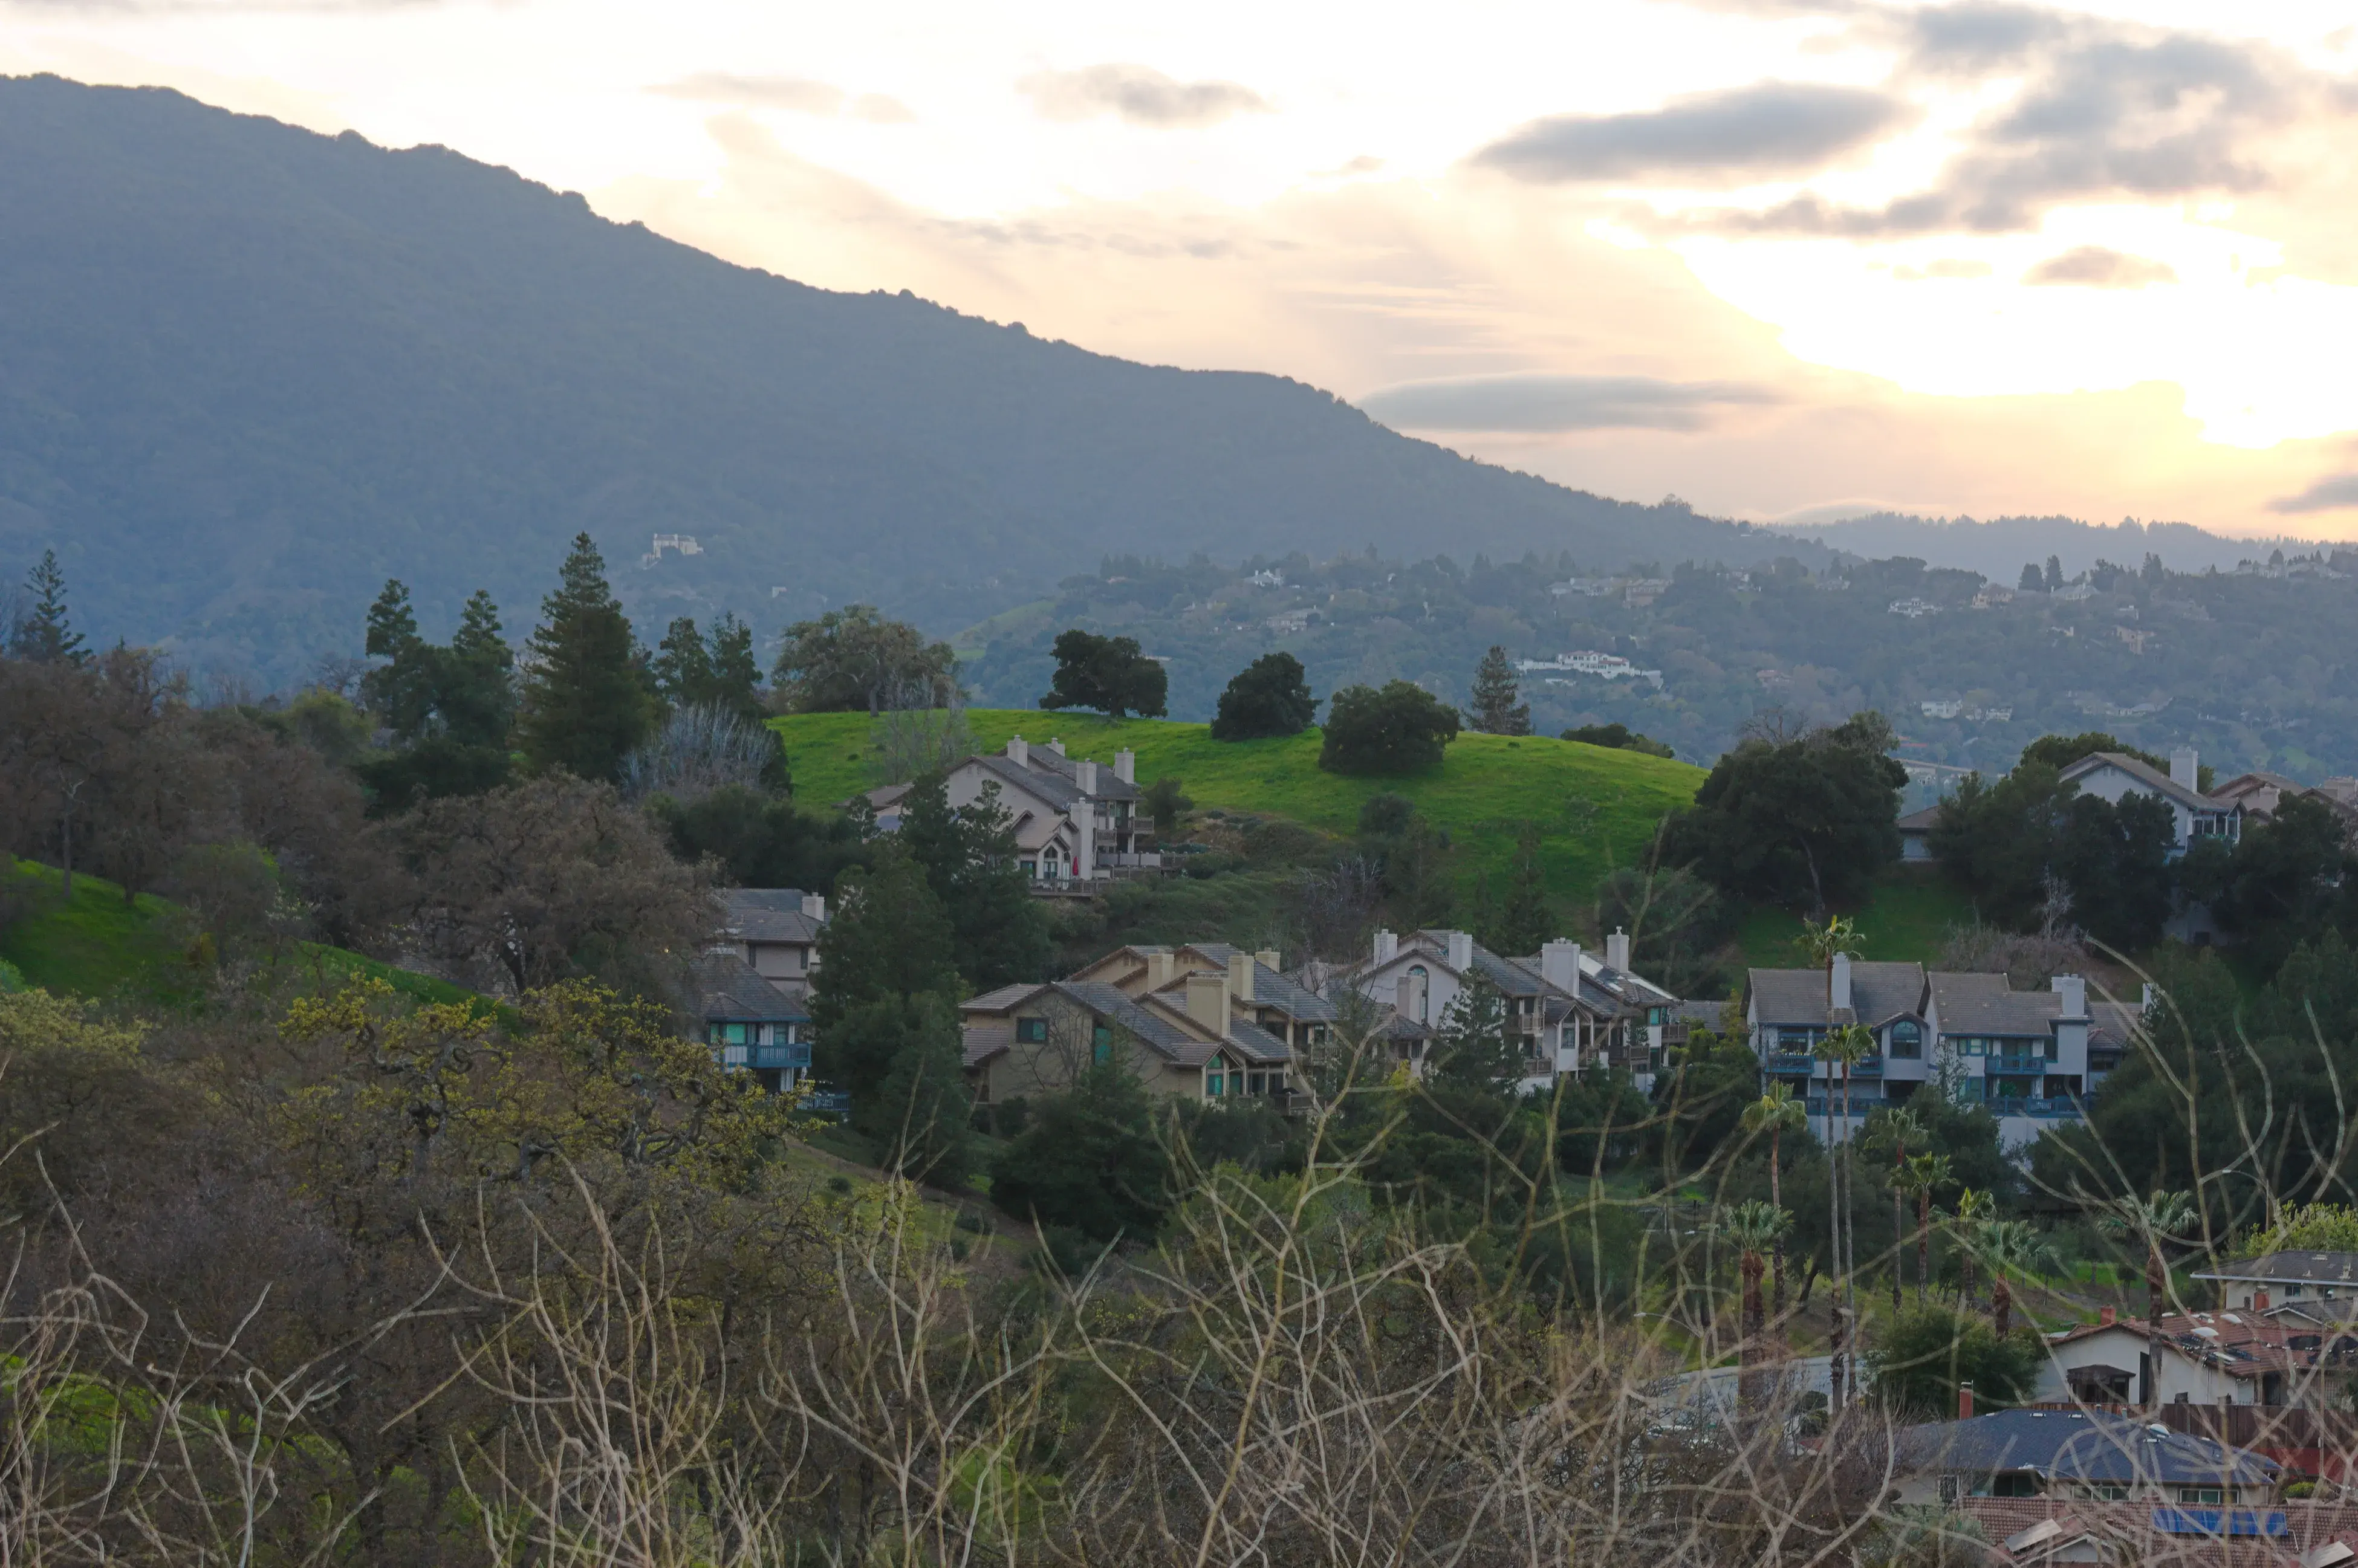
Landscape shots
Once I found out how to install the telephoto lens on my camera, I tried taking some shots with it. One of the things that were a surprise to me was that the light bar was also pretty much useless: yes, of course you’re going to get less light with the telephoto lens. I didn’t really post many photos that I took with it on Instagram, except maybe for these. It wasn’that much of a different experience except that I had to remember that any shaking would be magnified and that I was supposed to set the aperature to f5.6-8 in order to get “flat-looking” shots where the majority of the image was crisp and sharp.
Indoor shots
Well, I also used my telephoto lens and 50mm lens during an indoor school event. What I learned was that I tend to underexpose indoor shots because I’m used to shooting outdoors, where I can use a lower ISO and a faster shutter speed. I was very hesitant of cranking up the ISO, but after learning that my friend (who had a modern R1 camera) was using ISO well beyond what my camera was capable of (my camera maxes out at ISO 1600), I decided to crank my ISO up. I still had pretty underexposed shots because I was trying to use f8 + a fast exposure time because I was trying to capture some fast motion (like K-pop dancing!).
Several days ago, I brought my camera to the mall to take some photos of us and the boys. This time, I wasn’t afraid of using high ISOs indoors because I knew that it would be inevitable. I had set my exposure time to 1/60 because of this rule-of-thumb ChatGPT taught me: you want to set your exposure to time to around the reciprocal of the focal length of your lens. For example, if you’re using a 50mm lens, you want to set your exposure time to around 1/50th of a second. My camera didn’t have an option for 1/50 so I set it to 1/60 instead.
The shots I took inside the mall were great! I learned from my experience in underexposing indoor shots and instead took great photos with minimal camera shake (because of the sufficient exposure time). Although, some photos were still slightly underexposed because I was trying to use f8 and f5.6 to make sure I got the whole scene in focus.
Photo editing
I wanted to edit RAW photos sometime. I’m poor (I have no access to digital money) so the editing software I used was the mighty, capable, and open-source software called RawTherapee. There’s also Darktable but I used RawTherapee in the past when I was editing RAW photos taken with my iPhone camera. I don’t know how this is different from Adobe Lightroom or Photoshop, but what I do know is that it’s powerful and intuitive enough for an ameateur like me to use.
One thing I learned to use is the histogram. When I originally saw it, I kind of ignored it because I didn’t really know what it did; I just scrolled through the knobs and balled with whatever “felt right.” But then one day I got curious and asked ChatGPT about what it was. The histogram shows pixel value distribution and helps with exposure and contrast adjustments:
- Left side shows shadows, middle shows midtones, right side shows highlights
- You want to aim for a roughly symmetrical, centered distribution for balanced images
- Avoid clipping (e.g. crushed blacks and blown-out highlights) by keeping the histogram away from edges
- If histogram is too far left: increase exposure
- If histogram is too far right: decrease exposure
- If histogram is too flat: increase contrast
- If histogram is too peaked: decrease contrast
And now… Well the results speak for themselves. Here is the JPEG from the camera (I shoot in JPEG+RAW):
Conclusion
I like photography. It’s a fun little new hobby of mine, where I appreciate the natural beauty of this world and try to capture what I see with my eyes in the most accurate way possible. Of course, as an art, the definition of “accurately” can be stretched a bit. Maybe you want to most accurately express an emotion or get the pictures to most accurately what the eyes see. I’m currently trying to do the latter because as with any art, you have to know the rules before you break them.
I have not jumped into the expensive rabbit-hole of cameras (yet) but I am excited to see how this hobby evolves. Until next time!
- Lyner